***Late 2021 Update***
Logitech has discontinued the Camera Settings app described in this article. It has been replaced by the Logi Tune app that is described in this article.
If you own a Logitech webcam like the popular C920, Brio, C922, or C930 and want more control over the zoom or positioning so you look better in virtual meetings, the Logitech Camera Settings app is something you will want to download and use. This app allows you to zoom in the camera and adjust other settings even while you are in a Zoom, Teams, Webex, or Google Meet meeting.
Did you find this article using a Google search? Get more answers to your virtual presentation questions here and get updates of new articles and videos here.
Download and Install the Logitech Camera Settings app
Start by going to Logitech’s Support website at https://support.logi.com. It will likely direct you to the support site for your geographic region. Click on the Downloads item in the menu to see the apps you can download. Look for the Camera Settings app. Here’s what the page looked like when I wrote this article in March 2021.

The Camera Settings app is the blue icon on the left in the second row.
Click on the icon or the app name and it will take you to the download page after auto detecting your operating system (it comes for Windows or Mac). Download the app and install it on your computer.
Start/Join the Zoom or Teams meeting first with your video
A webcam can only feed one app at a time so in order to have your webcam working in the Zoom or Teams meeting, you need to join the meeting and turn on your webcam in the meeting. This is an important sequence to follow. If you start the Camera Settings app first, your webcam will not be available to the meeting platform and you will see an error message telling you that the selected webcam is not available.
Start the Camera Settings app
Once your webcam is in use in the meeting, start the Camera Settings app that you installed. You will see the controls and settings but will not see a preview in the app. That’s because the webcam is showing in the meeting.
Use the Controls and Settings in the app
Even though you don’t see the video preview in the app, it can still control the webcam and allow you to adjust what is being sent to the meeting platform. The controls and settings you have will depend on the webcam model as some models allow different adjustments.
The most common adjustment will be to zoom in so the other meeting attendees can better see your face. Us the “+” button on the Home tab of the app to zoom in. You may have to wait a moment to see the adjustment in your video in the meeting. Use the directional arrows to adjust yourself in the frame if you are cut off in any direction. Here’s the Home tab for my Logitech C920 in Windows.

Sometimes the full controls are not shown when the camera is in the fully zoomed out position since the adjustments for positioning are only applicable when you zoom in.
Full-screen preview at the start of Teams meetings doesn’t show changes
If you are the only one in a Teams meeting at the start, you will not see the camera adjustments in the video preview that Teams shows you full screen before others join. When someone else joins the meeting, your small video preview in the lower corner will now show the adjustments. I am not sure why Teams does this but it is concerning when you don’t see the video change in full-screen preview mode at the start of the meeting. After everyone else leaves and you are the only one left in the meeting, the full-screen preview will correctly show any camera adjustments.
Default vs. zoomed in
Here’s what I look like with the default positioning. My camera is on top of my monitor about 24 inches from me.
Here’s what I look like with the camera zoomed in one step and my image adjusted in the frame.
Now the attendees can see my facial expressions much better when I present.
Because the camera is showing less of your body, make sure that any hand gestures you use will still be seen in the camera frame.
Minimize the Camera Settings app during the meeting
Once you’ve used the Camera Settings app to adjust your video, minimize the app, leaving it running during the meeting. If you close the app, the adjustments you made to the video may be lost, so it is best to keep the app open and minimized during the meeting. This app takes very few resources and should not impact the performance of the computer in the meeting. When the meeting is over you can close the Camera Settings app.
Explore Advanced settings
The Advanced tab in the Camera Settings app contains other settings you may want to adjust. I tend to leave these as the defaults but see if they might give you a better video in the meeting. I suggest you leave the autofocus and auto white balance on as manually adjusting these can be a lot of work during a meeting.
Advantage over Logitech’s Capture app
Logitech also offers an app called Capture, that gives you control over the webcam. It actually is an app to capture video but it also offers a virtual camera to Zoom and Teams. The adjustments in the app allow you to show a better video in the meeting. The problem for some people is that there is a slight lag between the video being shown through the app and the audio being captured by the mic. This delay can be very distracting for the attendees. The Camera Settings app controls the webcam directly without adding any delay so the experience for the attendees is consistently better.
Works when showing webcam in browser window
Using the Camera Settings app to control the video also works when you are showing your webcam video in a browser window. In this article I explain how to use a small HTML and javascript file to display the webcam video in a browser window. You then use Zoom’s multi-window sharing option to share your video beside your PowerPoint slides in Reading View. The Camera Settiongs app will adjust the video shown in the browser window.
Control your Logitech webcam with the Camera Settings app
By downloading the Logitech Camera Settings app you give yourself more control over your video in Zoom and Teams meetings.
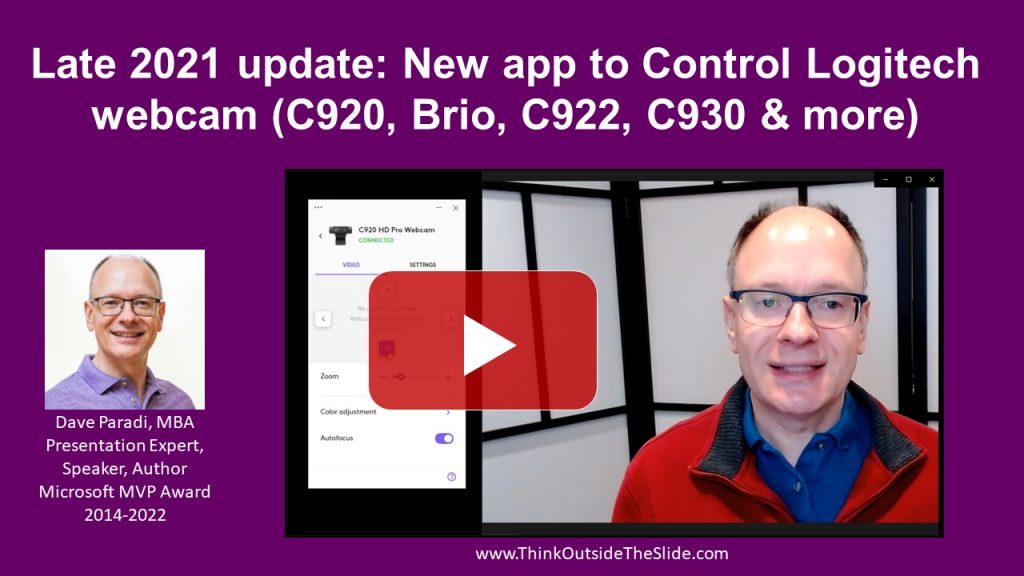
Video
This video shows how to use the LogiTune app that has replaced the Logitech Camera Settings in a virtual meeting.
Where to go next
–>More articles on virtual presenting –>Training for your team on presenting virtually
–>More articles on virtual & hybrid sales presentations –>Training for your sales team

Dave Paradi has over twenty-two years of experience delivering customized training workshops to help business professionals improve their presentations. He has written ten books and over 600 articles on the topic of effective presentations and his ideas have appeared in publications around the world. His focus is on helping corporate professionals visually communicate the messages in their data so they don’t overwhelm and confuse executives. Dave is one of fewer than ten people in North America recognized by Microsoft with the Most Valuable Professional Award for his contributions to the Excel, PowerPoint, and Teams communities. His articles and videos on virtual presenting have been viewed over 4.8 million times and liked over 17,000 times on YouTube.