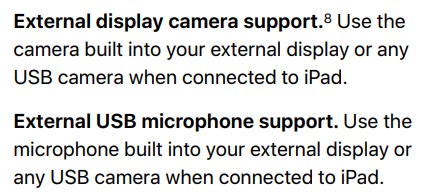
Now that iPadOS 17 has been released, you can easily use your newer iPad (one that has a USB-C connector instead of a lightning connector) as a second screen for your Windows laptop (or desktop) without needing an app on your computer or iPad. In the past, you needed an app, such as Duet Display, which prevented a lot of corporate users from using the iPad as a second screen because they aren’t allowed to install apps on a corporate laptop. The new version of iPadOS supports external webcams, which allows you to use a video capture device to display a second screen from Windows on your iPad without using any apps. Here’s the specific feature in Apple’s official list of features for iPadOS17:
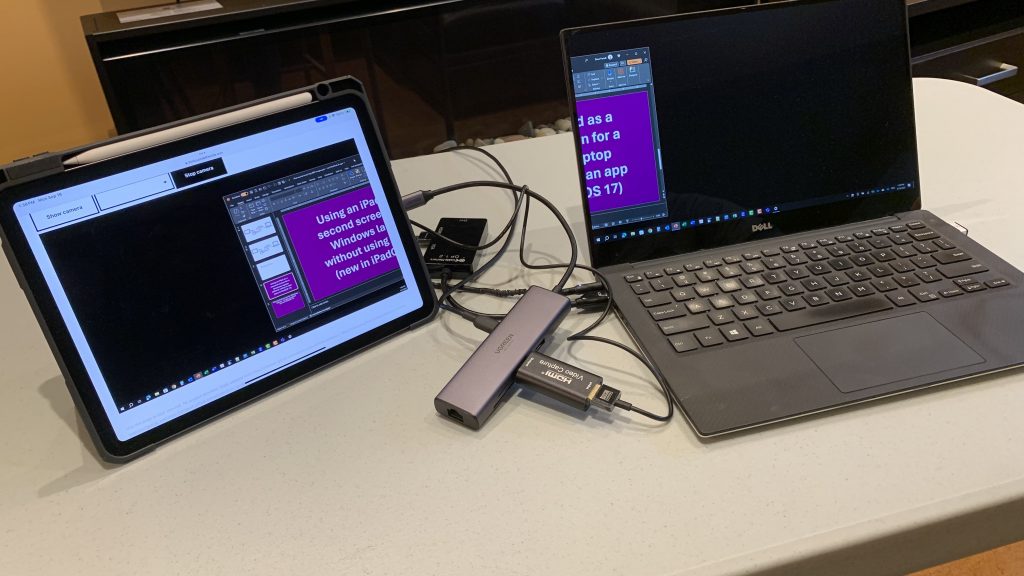
Here’s what it looks like in action.
Here are the steps you need to follow to get your iPad working as a second screen with your laptop or desktop.
Step 1: Update your supported iPad to iPadOS 17
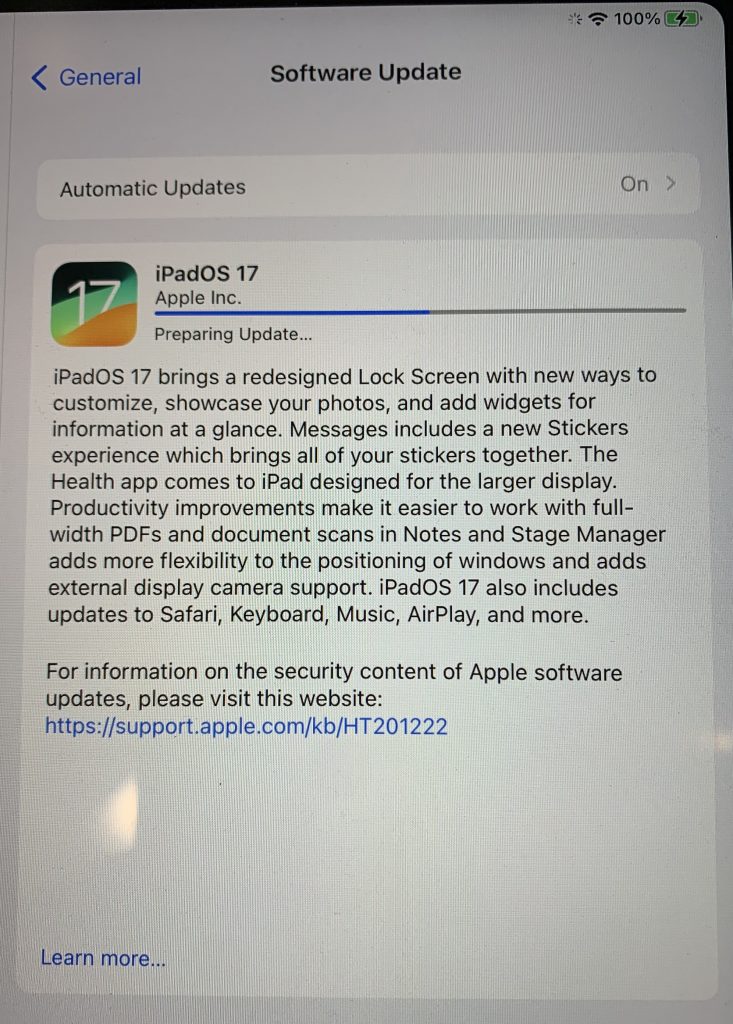
Now that iPadOS 17 has been released to the public, update your iPad. To make this work, you must have an iPad that uses a USB-C connector. Here are the supported iPads from Apple’s document:

If you want to upgrade your iPad, I just bought the iPad Air 5th Generation which I think is a good balance of functionality and cost (buy one here: https://amzn.to/3F7weUb (affiliate link). Update your iPad with iPadOS 17 using the Software Update feature in Settings.
Step 2: Attach an HDMI cable to your laptop
To create a second screen from your Windows computer you will need an HDMI port you can attach a cable to. Here are four options depending on your computer.
Option A: If your laptop has an HDMI port available, connect an HDMI cable to it. Typically HDMI ports are only found on older laptops or some higher end larger laptops. This older laptop I still have as a backup has an HDMI port.

Option B: Use a mini DisplayPort adapter. If your laptop has a mini DisplayPort port, you can use a mini DisplayPort adapter that gives you an HDMI port. This is what I use for my older Dell laptop. The adapter I recommend is this one.

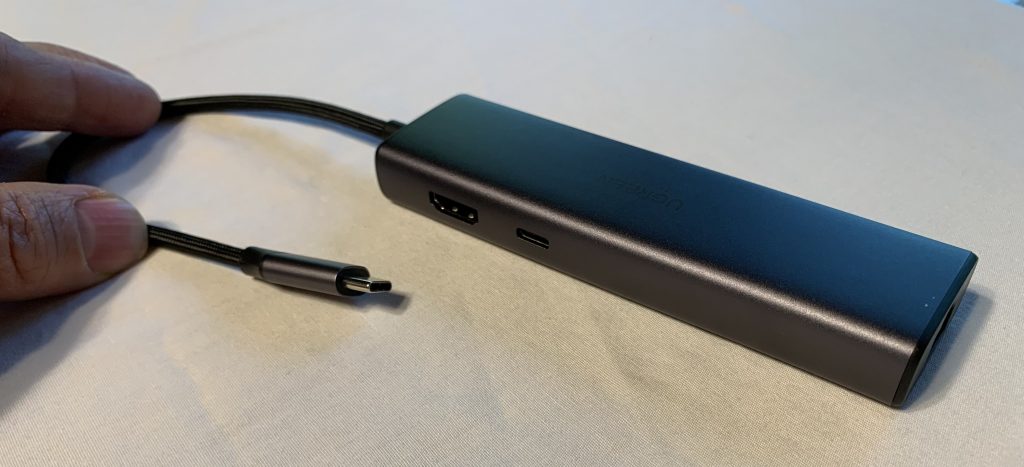
Option C: If you have a newer laptop that has USB-C ports, use a USB-C adapter that has an HDMI port in it. This is what I use for my newer Dell laptop. The adapter I recommend is from UGREEN and this is what it looks like.
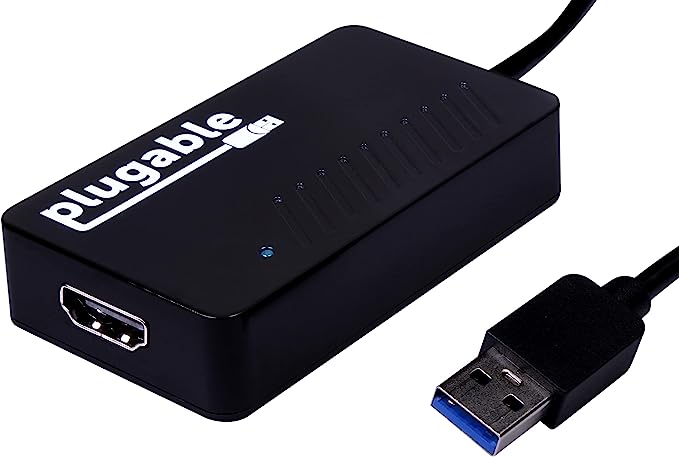
Option D: If your laptop doesn’t have any of the ports listed above or you have a desktop computer where the HDMI port is already in use, you can use a DisplayLink adapter in an open USB-A port. This adapter gives you an HDMI port from a standard USB-A port using the DisplayLink technology. This is the adapter I recommend.
If you want a very slim HDMI cable that doesn’t take up much room when travelling, here’s the one I use.
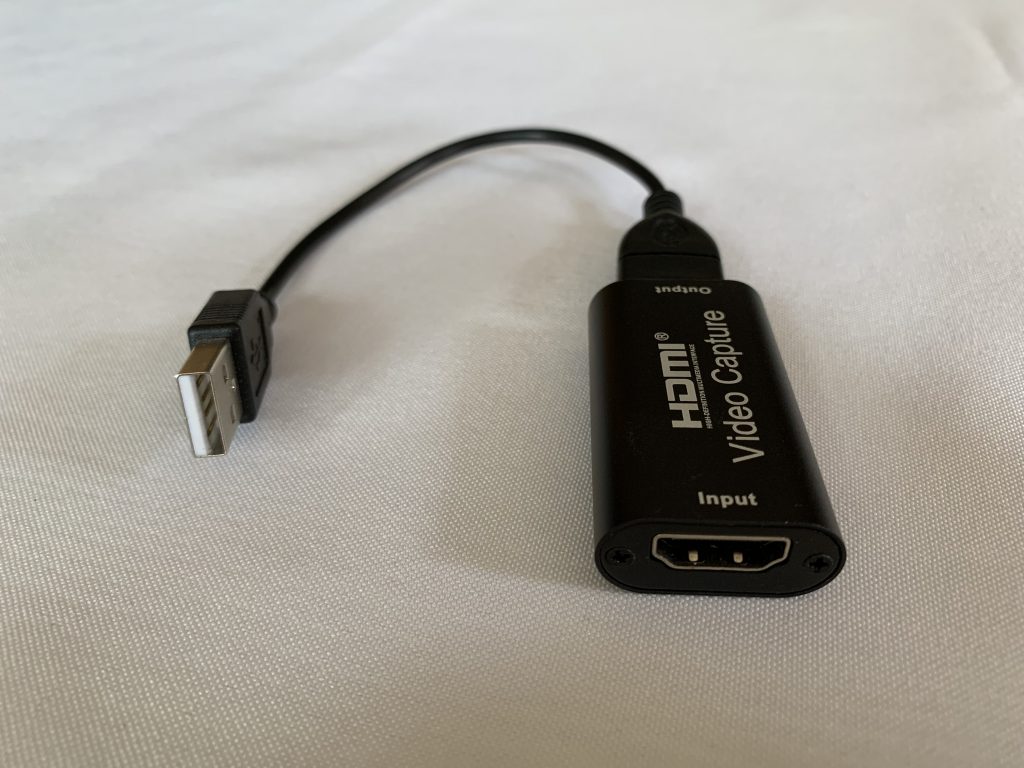
Step 3: Attach the HDMI cable to a video capture device
To turn the HDMI signal into a signal that the iPad can understand you need to use a video capture device. This device takes the HDMI screen signal and converts it to a webcam signal that the iPad can display. These devices are readily available as they are used by gamers all the time. You can use a high-end gamer device from Elgato or you can use a less expensive device like the one I recommend (if that one is out of stock, try this one or this one).
Step 4: Attach a USB-C adapter to the iPad
The video capture card has a USB-A port, which you need to convert to a USB-C port to attach it to your iPad. While you could consider a simple port adapter, I recommend you use a USB-C adapter that has a USB-A port and also includes a way to power your iPad. Displaying a screen all the time drains the iPad battery and you will want a way to charge the iPad while using it. I recommend the same UGREEN USB-C adapter I listed above. After you attach the adapter to the iPad, attach your usual USB-C charging cable to the adapter so the iPad is not running on the battery.

Step 5: Connect the video capture card to the iPad adapter
Now you are ready to connect the USB-A end of the video capture card to the USB-A port on the adapter you connected to your iPad. The iPad will now see an external webcam.

Step 6: Display the screen image on your iPad
A webcam is usually used in video calling, but we want to just display the webcam image, which is the second screen from our Windows computer, on the iPad screen. There are a few options for this.
Option A: Use a virtual calling platform app, like FaceTime, to display your webcam and select the USB webcam device. This is not optimal because it adds all of the user interface from the app and additional processing overhead that may delay the screen image.
Option B: Use a webcam display app. There are new apps that will be offered that display the webcam on the iPad screen. Before you install and use one of these apps, make sure you read the reviews and make sure you are comfortable with the developer and their privacy policy.
Option C: Use a webcam testing website that displays the webcam. There are a number of websites that will display a webcam in a browser for webcam testing. They may have resolution limits and they may have other interface elements on the screen. You should also be sure that the images aren’t being captured by the website.
Option D: I’ve advocated using a video capture device to create a second screen in past videos and while working on those ideas I developed a web page that has very little user interface to select and display a webcam. You can use this page to display the webcam image on your iPad screen. You can pinch to zoom to make the image take up as much of the screen as possible. You can even add this page to the home screen on your iPad the same way you add any other web page as a home screen icon. This makes it easy to access when you want to use it.
Option E: If you don’t want to use a website to display the webcam image, I am also making the web page I developed available for download. You can download the HTML file, save it on your iPad, and open it as a local file in a browser. This could be the most flexible option as it does not rely on having internet, it has a minimalist user interface, and it allows you to make the image larger on your iPad. Download the HTML file by right-clicking on this link and selecting to save the link as a local file. If you are on an iPad, tap and hold the link until the popup menu appears. Then use the Download Linked File option to save the file to your iPad. The file is provided without warranty and at your own risk (the lawyers suggest I inform you of this :)).
Step 7: Extend and position the second screen in Windows
Windows should now recognize that a second screen is connected. In the Display section of the System Settings group in Windows you can set the second display to be extended instead of duplicated. Then you can drag the displays in the diagram so that they match the setup you have on your desk. Set the USB display to a resolution of 1920 x 1080 to get the most from the iPad screen. Test the setup by moving your cursor between the computer display and the iPad display.
If you are using the iPad as a second display for a desktop computer, you will likely want to raise the iPad up so it is the same height as the desktop display. This is the iPad stand I recommend because it is flexible and securely holds the iPad (this is the stand I got for my wife).
Summary
Here’s a quick visual summarizing these steps.
Wrapup
If you have a newer iPad that has a USB-C connector, you can now start using it as a second screen for your Windows laptop or desktop. This gives you more screen real estate to be productive and allows you to use PowerPoint Presenter View and share the second screen with the high-res slides in a Zoom or Teams meeting. Follow the steps above and you will have it working in no time!
Video
If you want to see me demonstrate these steps, watch this video.

Dave Paradi has over twenty-two years of experience delivering customized training workshops to help business professionals improve their presentations. He has written ten books and over 600 articles on the topic of effective presentations and his ideas have appeared in publications around the world. His focus is on helping corporate professionals visually communicate the messages in their data so they don’t overwhelm and confuse executives. Dave is one of fewer than ten people in North America recognized by Microsoft with the Most Valuable Professional Award for his contributions to the Excel, PowerPoint, and Teams communities. His articles and videos on virtual presenting have been viewed over 4.8 million times and liked over 17,000 times on YouTube.